T&G: Tangible and Gnarly Plywood
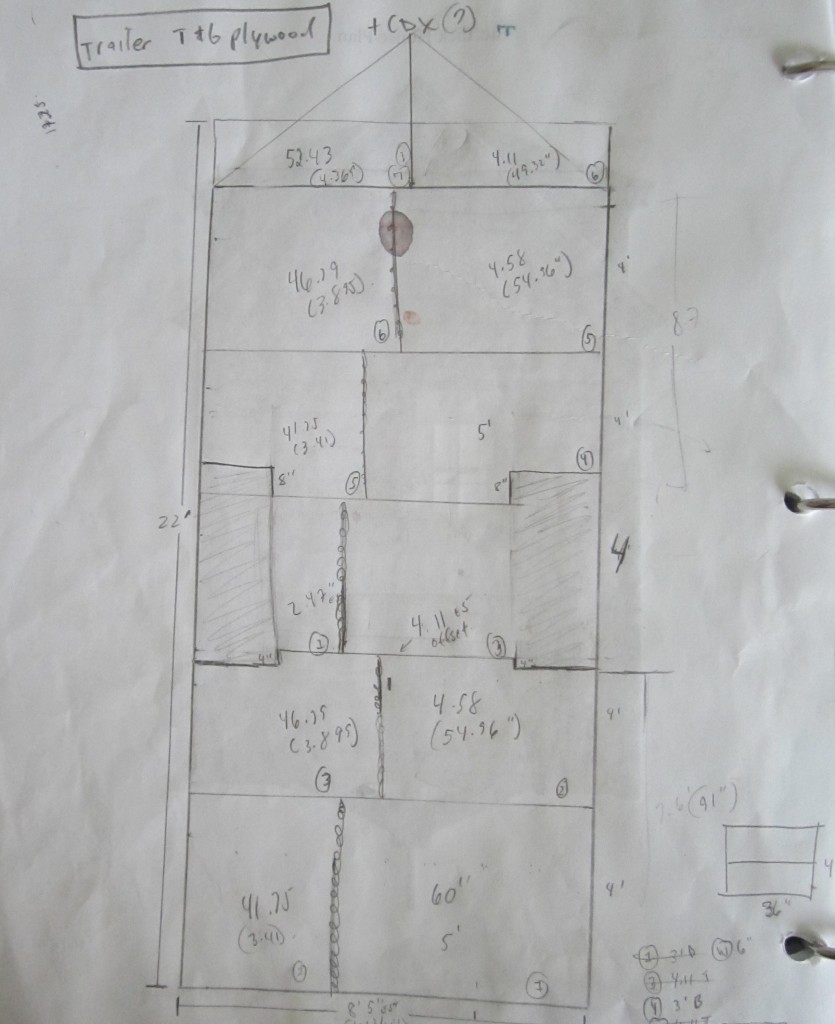
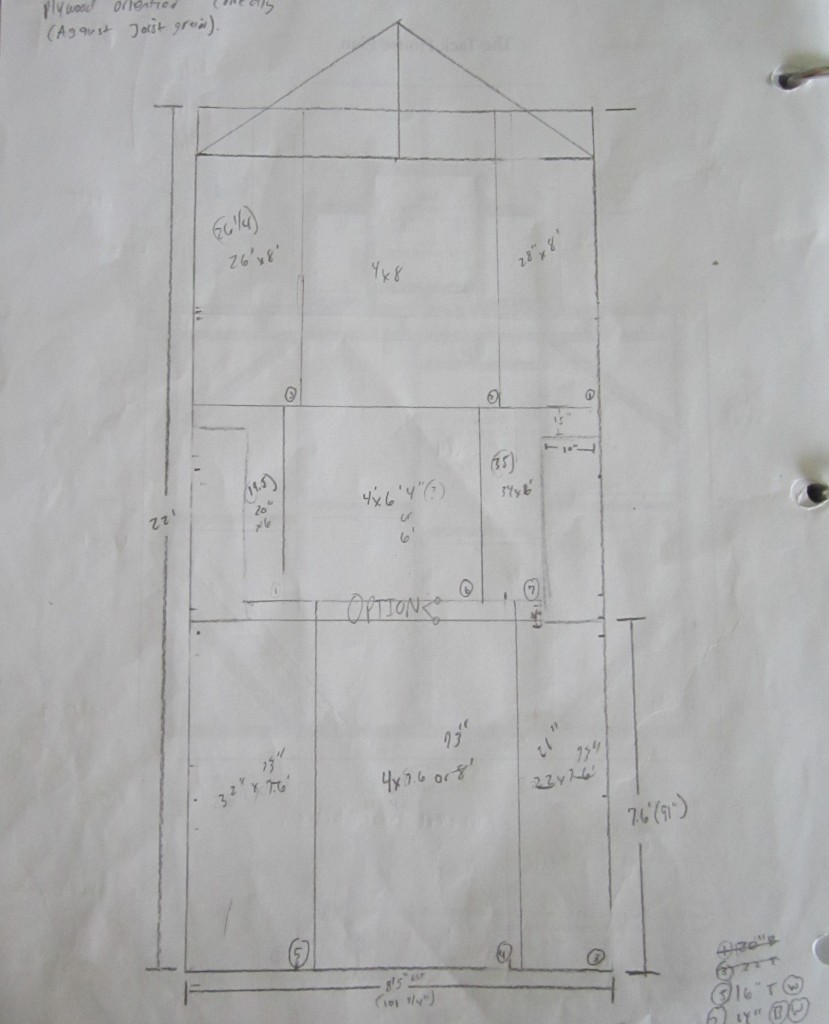
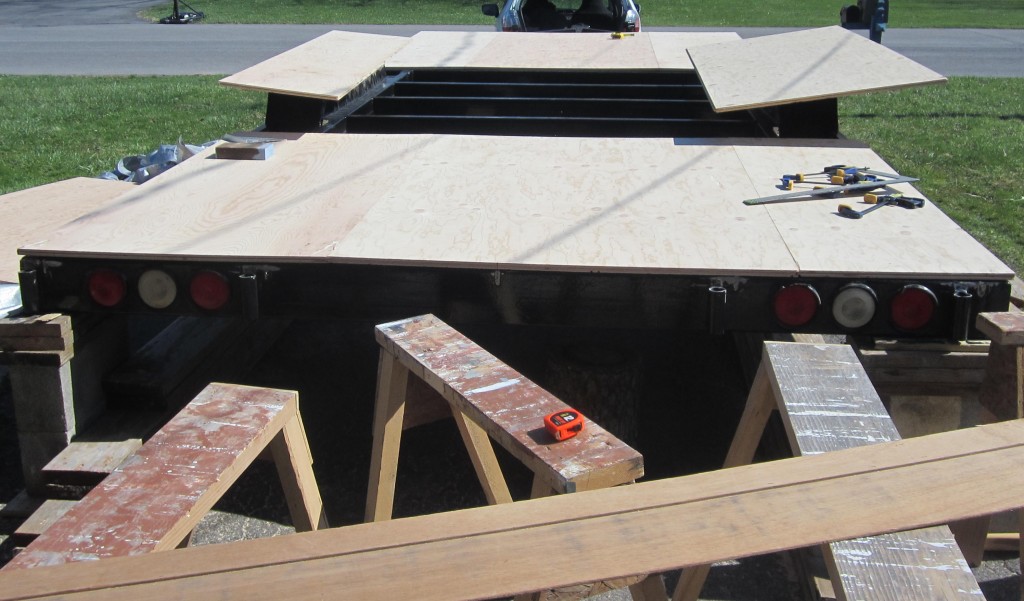
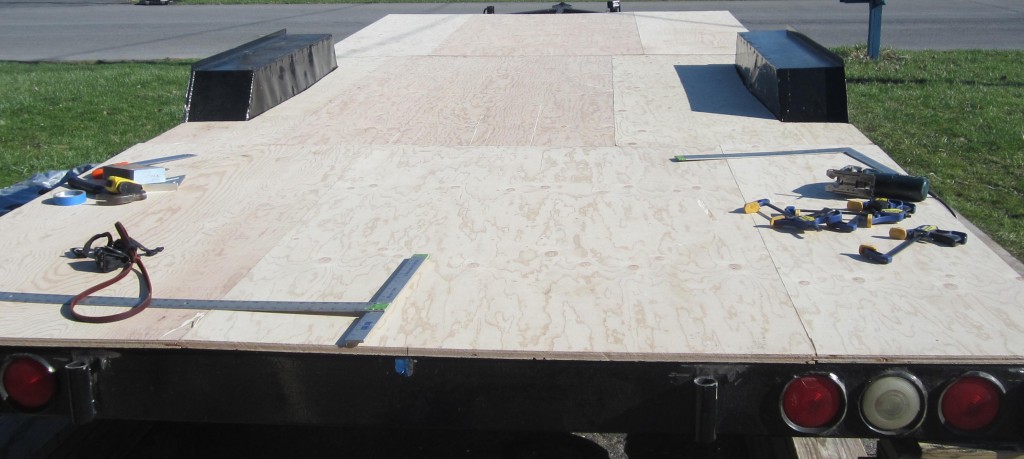
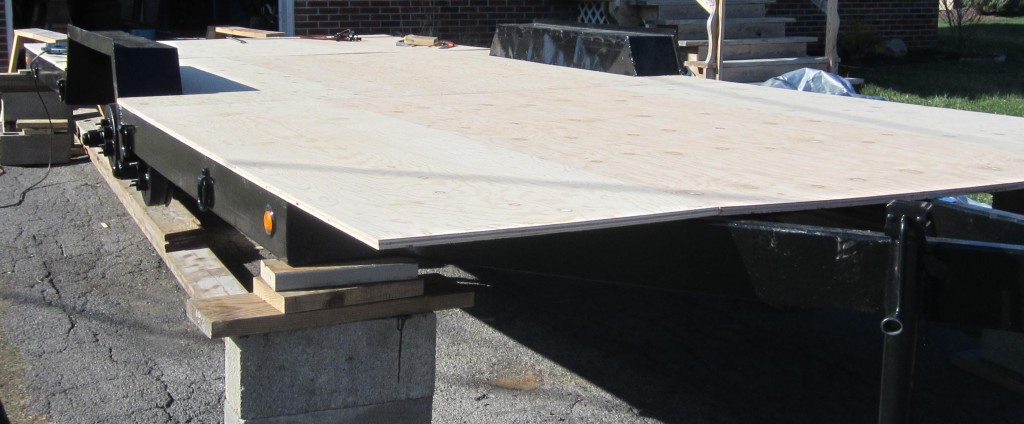
After receiving our lumber, the plywood and wood needed to be acquainted, so we left the plywood on the trailer for a week to see if they liked each other…any gullible readers? I hope so. The first step was to correctly cut and lay out all of the plywood on the trailer without the obtrusive bolts complicating things (I’ll weld them on later). I mapped out two ways to lay the plywood efficiently. I did this before purchasing the lumber to help calculate my plywood count. I ended up using a slightly adjusted “longitudinal” approach to make sure the plywood seams ended up on the trailer’s metal joists.
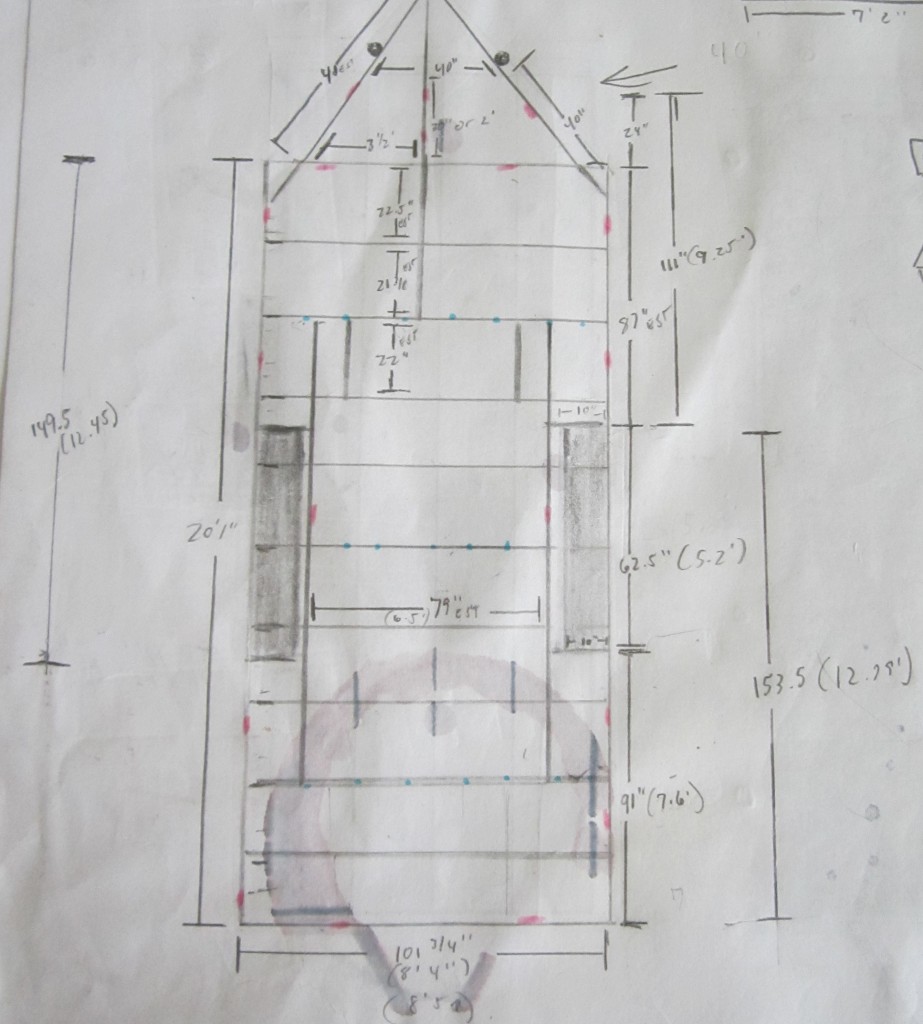
Trailer Dimensions:
Orientation Option 1:
Orientation of Plywood Option 2:
Confession: Permit-less Punks
If your trailer is a typical eight foot wide one, it’s a lot easier to lay out your plywood. Our trailer is wonderfully and awkwardly eight ft, four and 3/4 inches. With our roof overhangs we will be pushing the state’s limit of 8 ft, six inches. Because we rarely plan to move the house, we’re comfortable with pushing the width limit to gain as much interior space as possible. Will this “inch pinching” decision come back to haunt us? I hope not, gulp!
The Beginning of Endless Wood Cuts
Ignoring 100,000 demanding future cuts for the house, I emphatically engage with the initial large and heavy plywood puzzle.
Tools:
- Circular Saw and Jigsaw
- Powered Drill with Your Bolt Size Bit (5/8 in) *A little bigger
- 4 ft and 2 ft Square
- Cutting Guide with Clamps
Turmoil Already
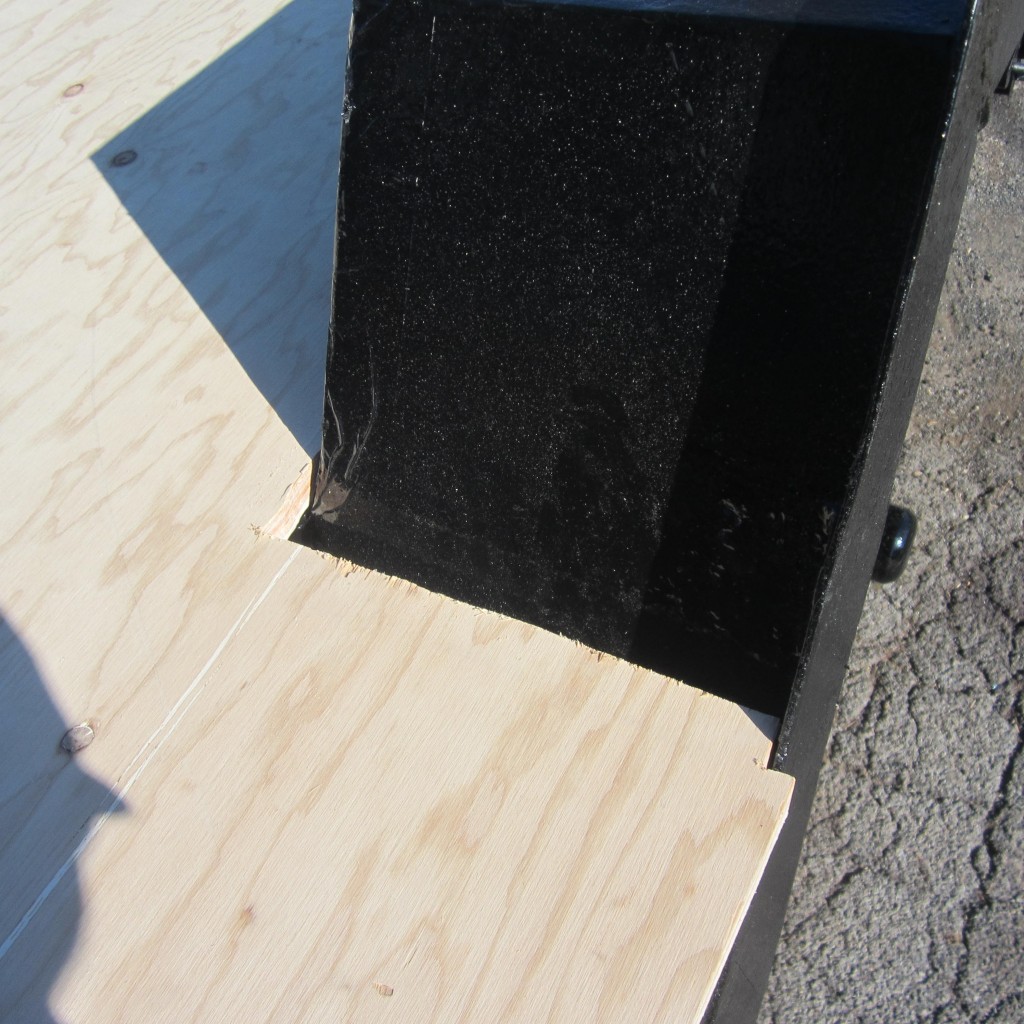
Unbeknownst to me, after the wheel wells–the trailer starts to taper as you approach the angled hitch area! So, it wasn’t square and flush with my plywood’s factory edge pieces–which was really throwing me off. I thought the whole trailer might be out of alignment and warped. Panic anyone? Because my glass is half full, the trailer tapers only a half an inch on each side gradually over the last four feet–not so bad, so instead of moving the whole house’s frame inward, I tossed the dice, letting it hang over (the bottom plate will still be 85% on the steel frame and bolted to it). Surprisingly, the turmoil led to an idea.
Inch Pinchers Become Foot Pushers
“This overhangs. Why not gain some feet in the front? Extend the overhang!” exclaimed Chris.
“Wow. The extra feet would be nice! Would it effect turning and driving the trailer?” Michelle said.
“That’s what I was wondering about…I don’t know. If we only do two feet, it shouldn’t, but I don’t know. Should we go for it?” Chris said gazing at the hitch area while day dreaming about even more space.
“Yea!” Michelle said…day dreaming about more space.
Let’s hope our space ambitions really don’t haunt us–but yes, although in all of my tiny house research I have never come across any instances or examples of it, Michelle and I have taken the risk of expanding the house over the trailer two feet. This will give us 22 ft total. The angled steel framing near the hitch is four feet in length, so we’ll still have two feet–hopefully this is enough for all turning we’ll need to do on the road.
Bolt Holes
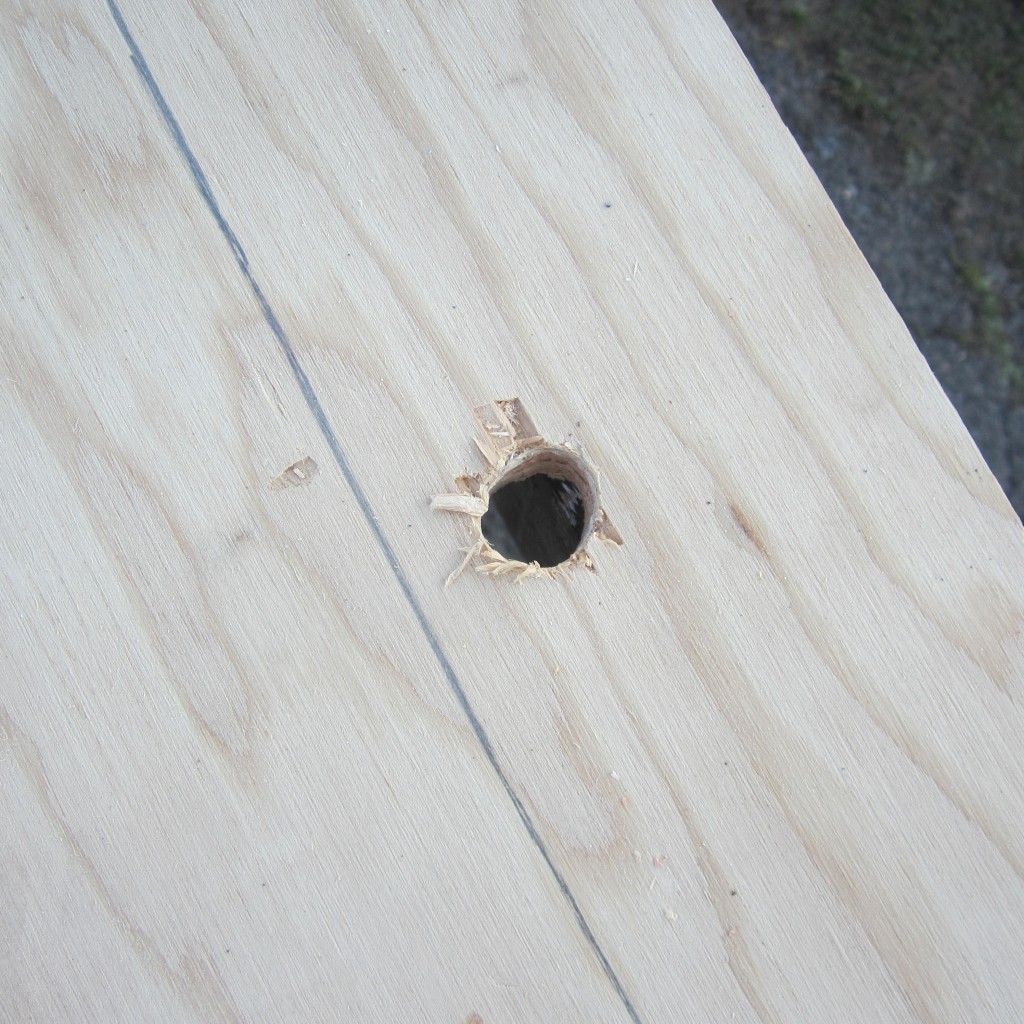
Finally, I drilled holes where I plan to weld the bolts. Had to buy a drill bit that was slightly larger than the 5/8 inch threaded rod. Initially, I was using a 5/8 inch bit and spinning it around to make a larger hole–not something my arm wanted to do sixteen times–doubt the drill liked it either.
The reins are ours,
Chris
Reflections, Hindsight, and Alterations:
- Although the extra space will be nice–the extra width may cause a lot of problems while driving–and it makes more wood waste because it’s over eight feet. Would have enjoyed an eight foot wide trailer for its simplicity.
